| As the new year begins, so does another sailing season. Whether your boat has been stored out in the elements, holding on to those tie downs, or tucked away in a cosy corner of the garage, it is about the time of year to blow the dust off and get her ready to go back on the water. As ever we are always on the end of the phone if anyone needs help with their boat – 01326 376191.
Here at Windsport we are really familiar with pre-season service checks, so I thought this would be a good opportunity to share with you guys a list of our top 10 – maybe not so obvious – systems and parts checks before you venture back out on to the water.
Windsport provide a full range of spare parts and are happy to offer advice on any Dart related subject, so please get in touch if you have any questions.
Cheers,
Tom & WS Team |
1. Standing Rigging
One of the most important checks, and often not particularly obvious. Checking all of the wire rigging is vital. Over years all of the wires will fatigue and so it is important to regularly assess the rigging and see if it needs replacing.
Lifetime varies depending on use and environment, but you can be sure once one wire begins to show signs of failing naturally all the others will be not far behind.
To check the rigging hold the wire close to an end, and then bent the swaged terminal to both sides looking for any loose strands of wire to spring out. Excessive rust or corrosion would also be another reason to replace.
2. Running Rigging
Similar to the wire rigging, ropes will wear and fatigue with time. The most likely failure position is around any knots however on the ratchet systems be sure to check the area of rope that slides over the ratchet wheel, this will wear faster and start to break down before other parts of the rope. Another important check is the trapeze and restraining line bungee, the UV from the sun eats elastic and so often you find that this bungee has perished and needs replacing. That last thing you want as a crew is to be fishing around for the trapeze because the bungee will not hold it in place.
3. Cleats
I’m sure you all gave your boats a great wash down at the end of last season, but an area where it’s hard to get to is inside the various cam-cleats over the boat. Quite often salt remains in there and then over the winter while not in use this builds up stopping the clam from opening and closing properly. A quick squirt of duck oil/WD40 and a bit of working the cleat should release it. On occasion it can be too far gone and the spring inside can fail, in this instance it’s time for a new one.
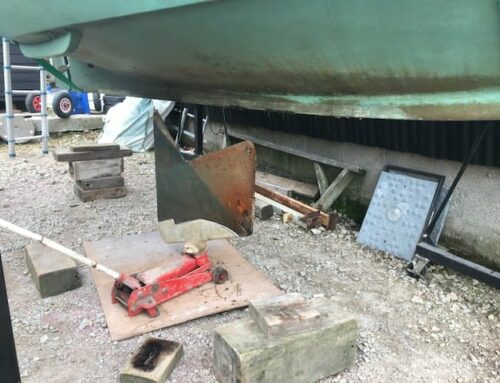
4. Rudder Lock System
One of the more complicated areas of the boat. Ensure the tiller arm and lock roller system is well lubricated, and then confirm the rudder locks both in the up and down position. Use a round file to shape the area the lock roller sits to create a more secure lock. Another good thing to check while in this area of the boat is the buffer pad the blade presses against when its down. This can perish over the years and fall out. To prevent and gelcoat damage to your rudder and give more solid steering make sure the buffer is there and supporting the blade when down.
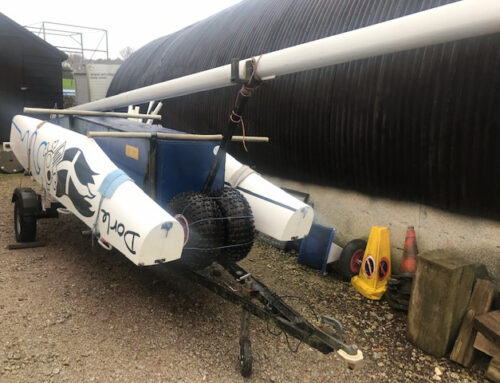
5. Trolley
Seems obvious, but no one wants to make life any harder than it needs to be. Depending on what type of trolley you have, make sure the tyres are fully inflated (racing pressures), make sure there are no missing bearings, ensure trolley cups are covered to protect boat and in the right position so as not to put pressure on the hull at all.
6. Trailer
Not on everyone’s list I know, but the last thing you want is to jump in the car, head off for the first TT of the year and not make it. Here’s a list of trailer checks.
- Appropriate padding – protect hulls and equipment from damage
- Bearings tight and amply greased
- Hitch oiled and working smoothly
- Lighting board/Lights working correctly
7. Gelcoat
Before assembling everything is a great opportunity to have a look over the hulls and rudders and assess for any damage. I’m sure you will have been aware of anything glaringly obvious as you were probably onboard when there was a loud crunch!, however this is the opportunity to notice the little areas of damage you weren’t aware of. We all know that the smoother the surface is the better and so as you run your hand over the keel line or the rudder, feel for any imperfections. It is your own decision how far you take it, but by repairing those chips and scratches you will only go faster!
8. Battens
Another sometimes less obvious check is your battens, if you had a capsize and landed on the sail, or a big gybe where you missed the mainsheet battens can break. We recommend removing all the battens from the sail and checking along their length for any delamination. Depending on where the damage is you may be able to cut a batten down and use in another sail pocket, however, remember to try and always cut off the thick end.
9. Trampoline (tube/slides)
A common breakage on the boat is the trampoline slides in the rear beam, keep an eye of them, and we suggest having a few spares sat in the beam ready. Another thing to check is the trampoline tube, over year of tightening the lacing, the tube will wear, this makes it harder to tension the trampoline and in a worse-case scenario would mean failure and maybe ripping the cloth.
10. Mast Ball/Base
Another area that will wear is the socket joint where the mast sits on the ball. Have a look into the mast base and you should see a stainless-steel plate, this is what the mast rotates on, ensure the plate is intact and working. Also have a look at the mast ball itself, there is a stainless-steel insert where again the mast rotates, ensure this is still proud of the ball and there is no excessive wear. Catching this early prevents much further damage and saves a lot of money.